
From Russia With Love
 I got a lot of feedback in past months asking about how this russian nesting doll was made. I m not a profesional and I dont have a special talent to make things from scracth, This one took a few days of deep thought about where to start from, and a lot of bravery to do some painting and detail work with brushes. Not bad result to be the first one (a few ugly looking bumps in the back, but got covered well enough under some painting details) Here is the tutorial:


It all started from baking a simple Yellow Vanilla Cake: You can find the recipe here
using a round shaped cookie cutter I cut mini cakes to start,
leaving the left overs on the side. (They really helped later when it was time to carve and shape the doll: some parts needed more volume than others to give it that particular russian doll form)
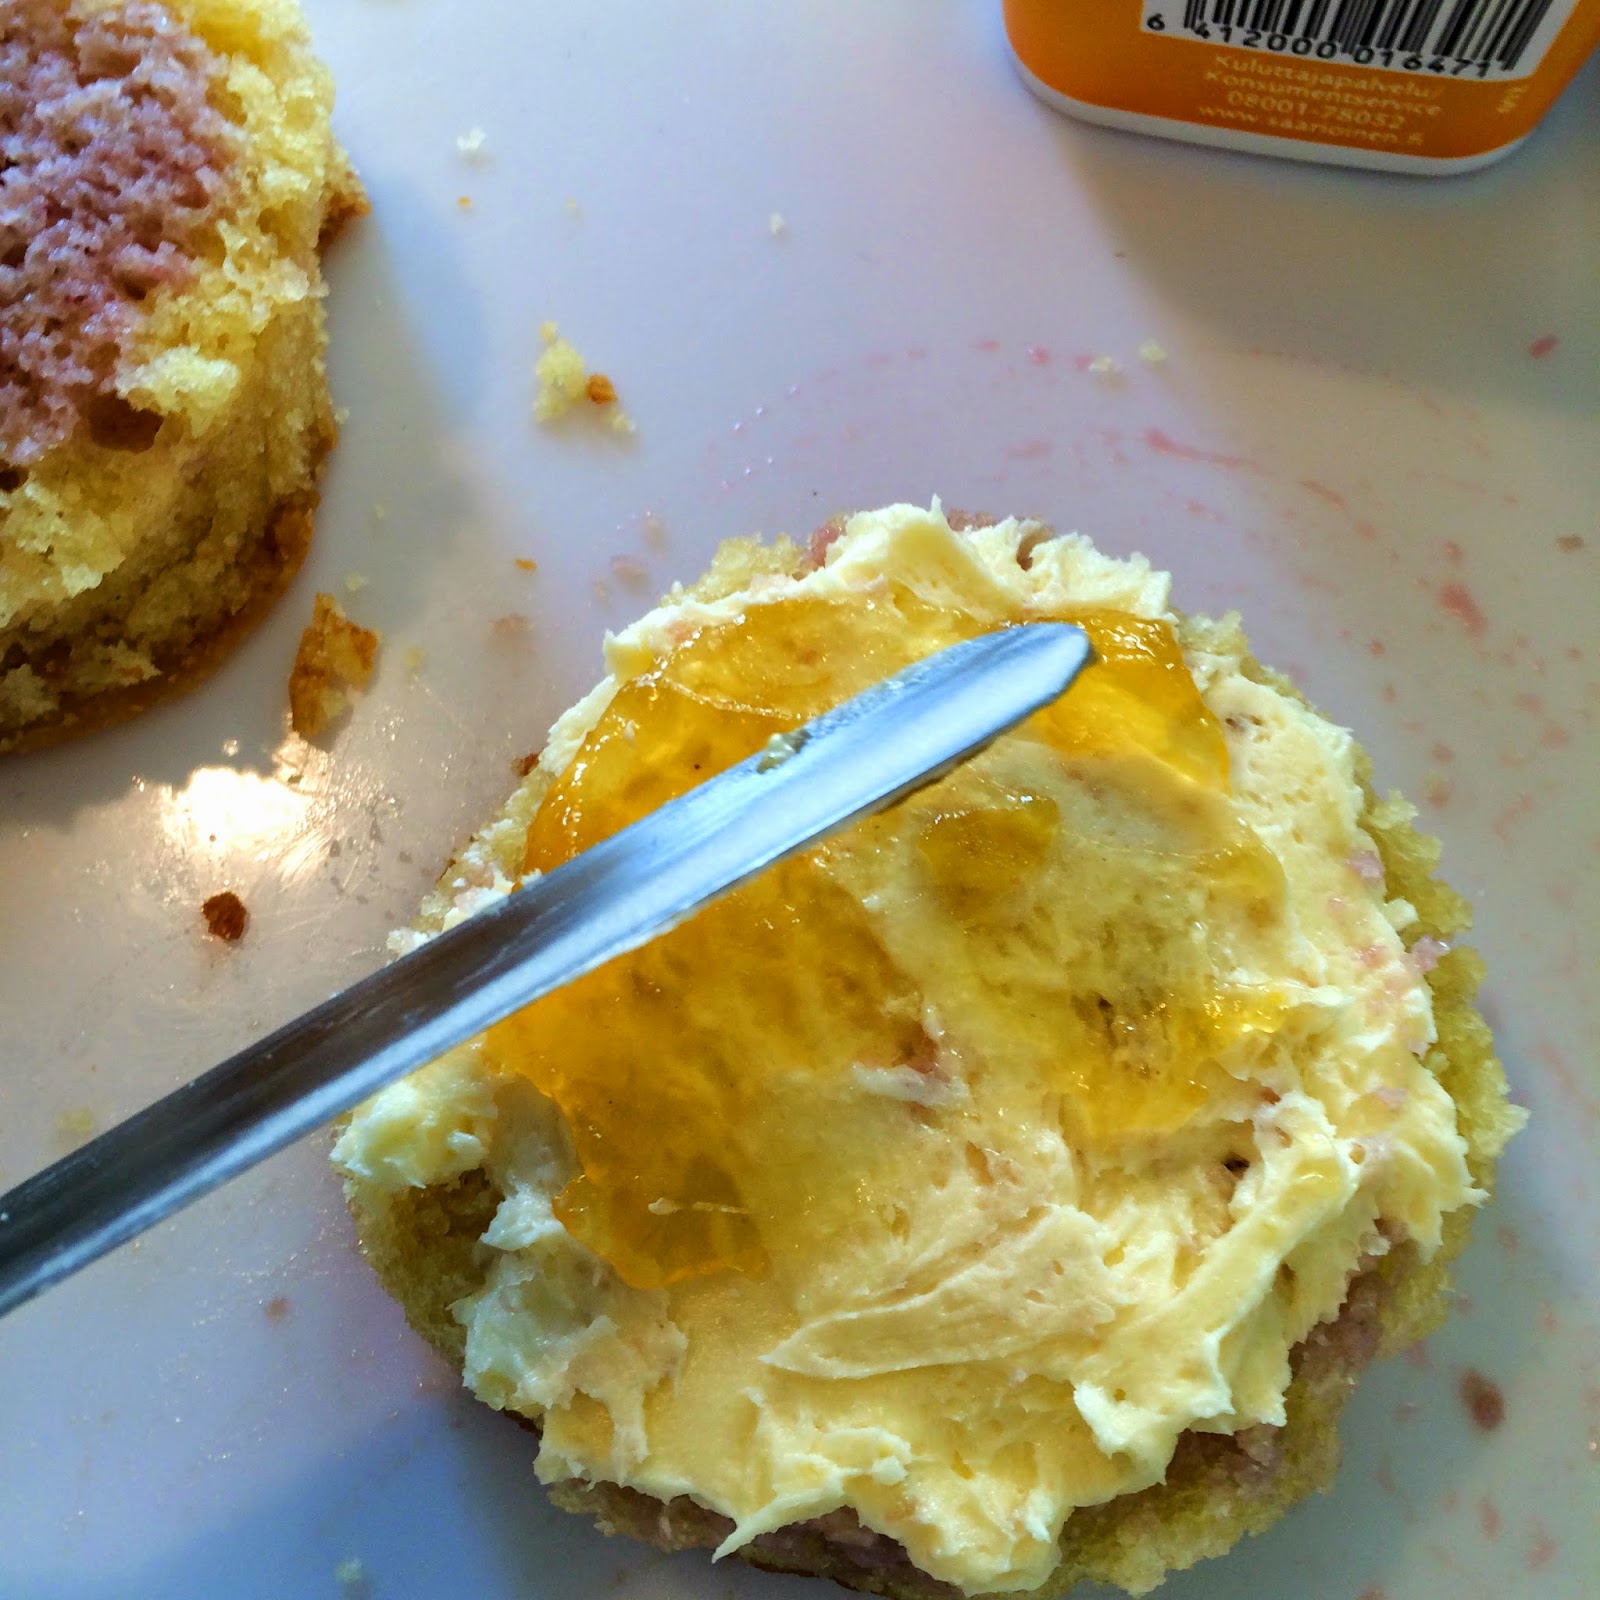

I cut each mini cake by half I filled it like I would normally do.
This time: orange jam and vanilla buttercream. The finish doll looks pretty large in final pictures, but its a normal sized one. Three mini cakes were enough. If you prefer to make a bigger doll, use bigger cakes.
Remember to prepare much bigger cakes than the planned sized for your doll: You will have to shape an carve enough to give your cake that hourglass-figure that all nesting dolls always have
My doll was meant to be the size of a normal one. I stacked the cakes one on top of another just by glueing them with some buttercream. They were so small they didnt need any support. . After this picture, I still needed to carve the mini cake tower with a knife and shape it a bit with my hands, I had to add an extra piece of cake on the top to shape the head. I lost the photo file of the already shaped cake, But I promise to post it as soon as it appears
After carving and shaping the cake, a layer of buttercream crumbcoat helped it to get a much better and neat doll shape. Time to put it to rest for next day. Day number two was all covering in fondant, and painting details
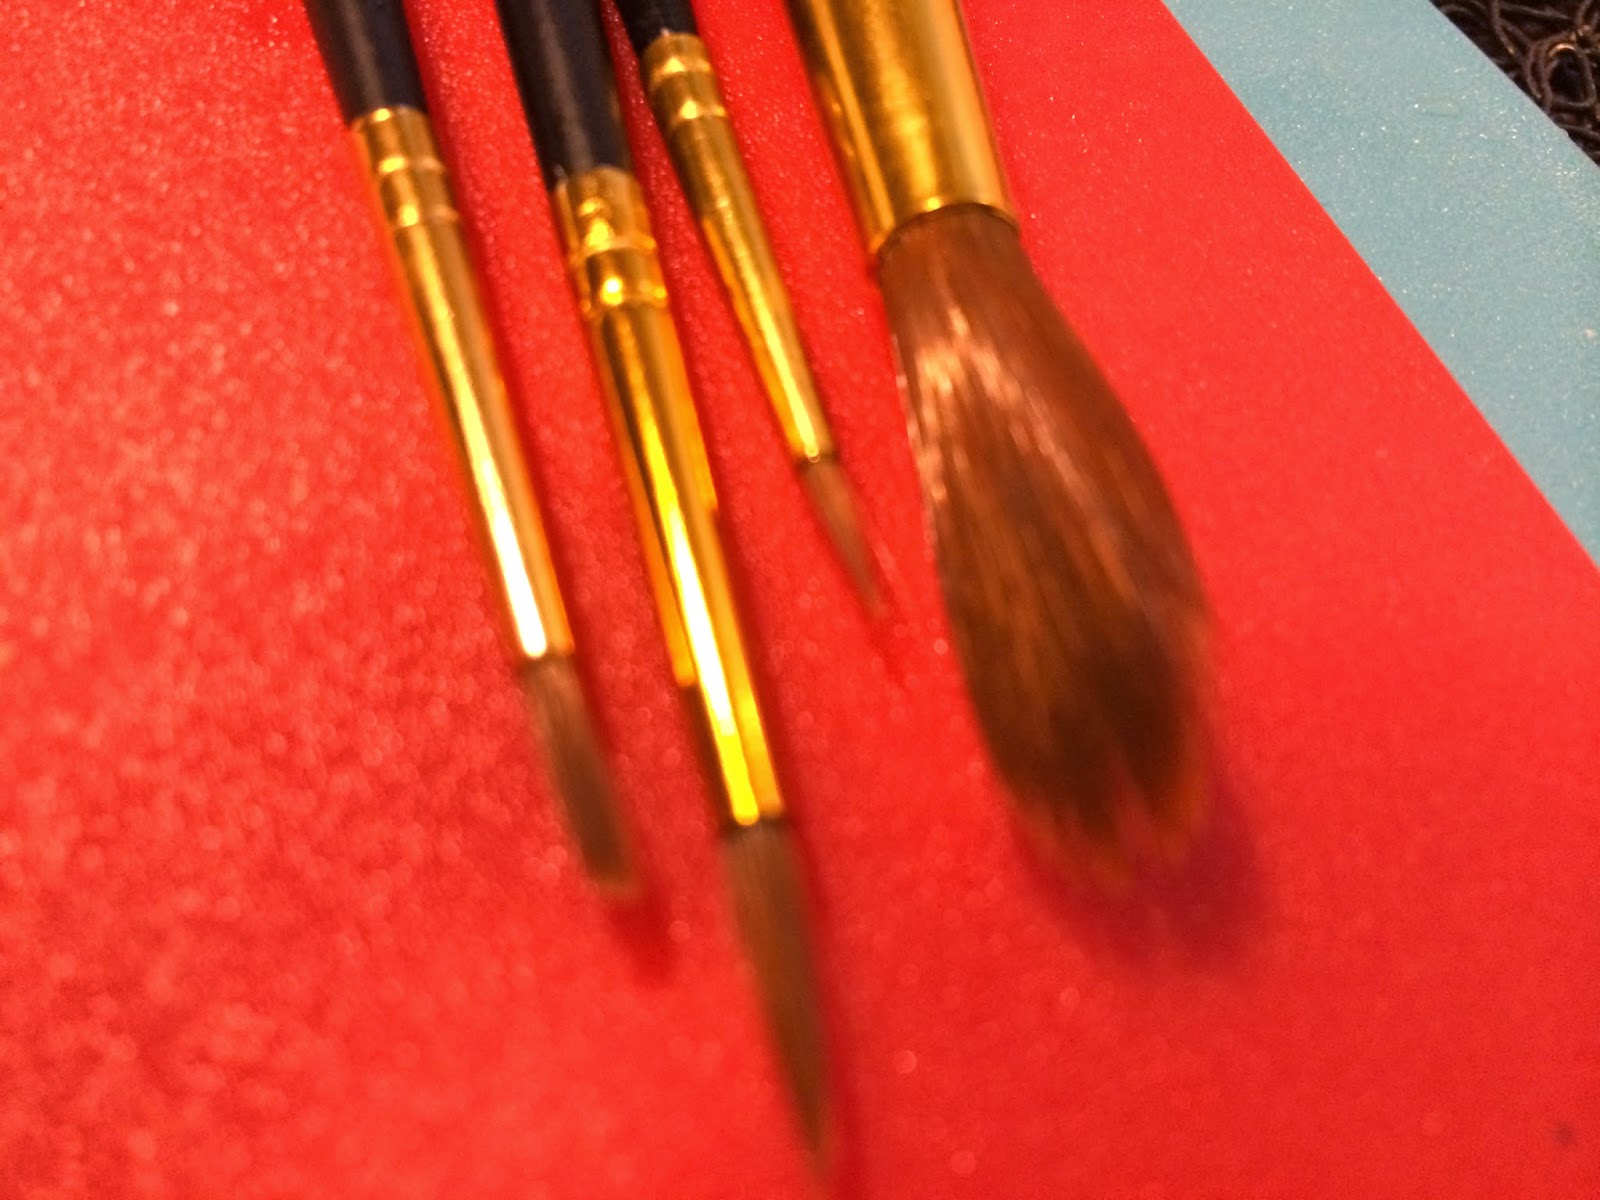
for painting I used Wilton gel colors because the tone is more intense with less layers. To give it that shiny touch I used rum and vodka instead of water for diluting the paint.
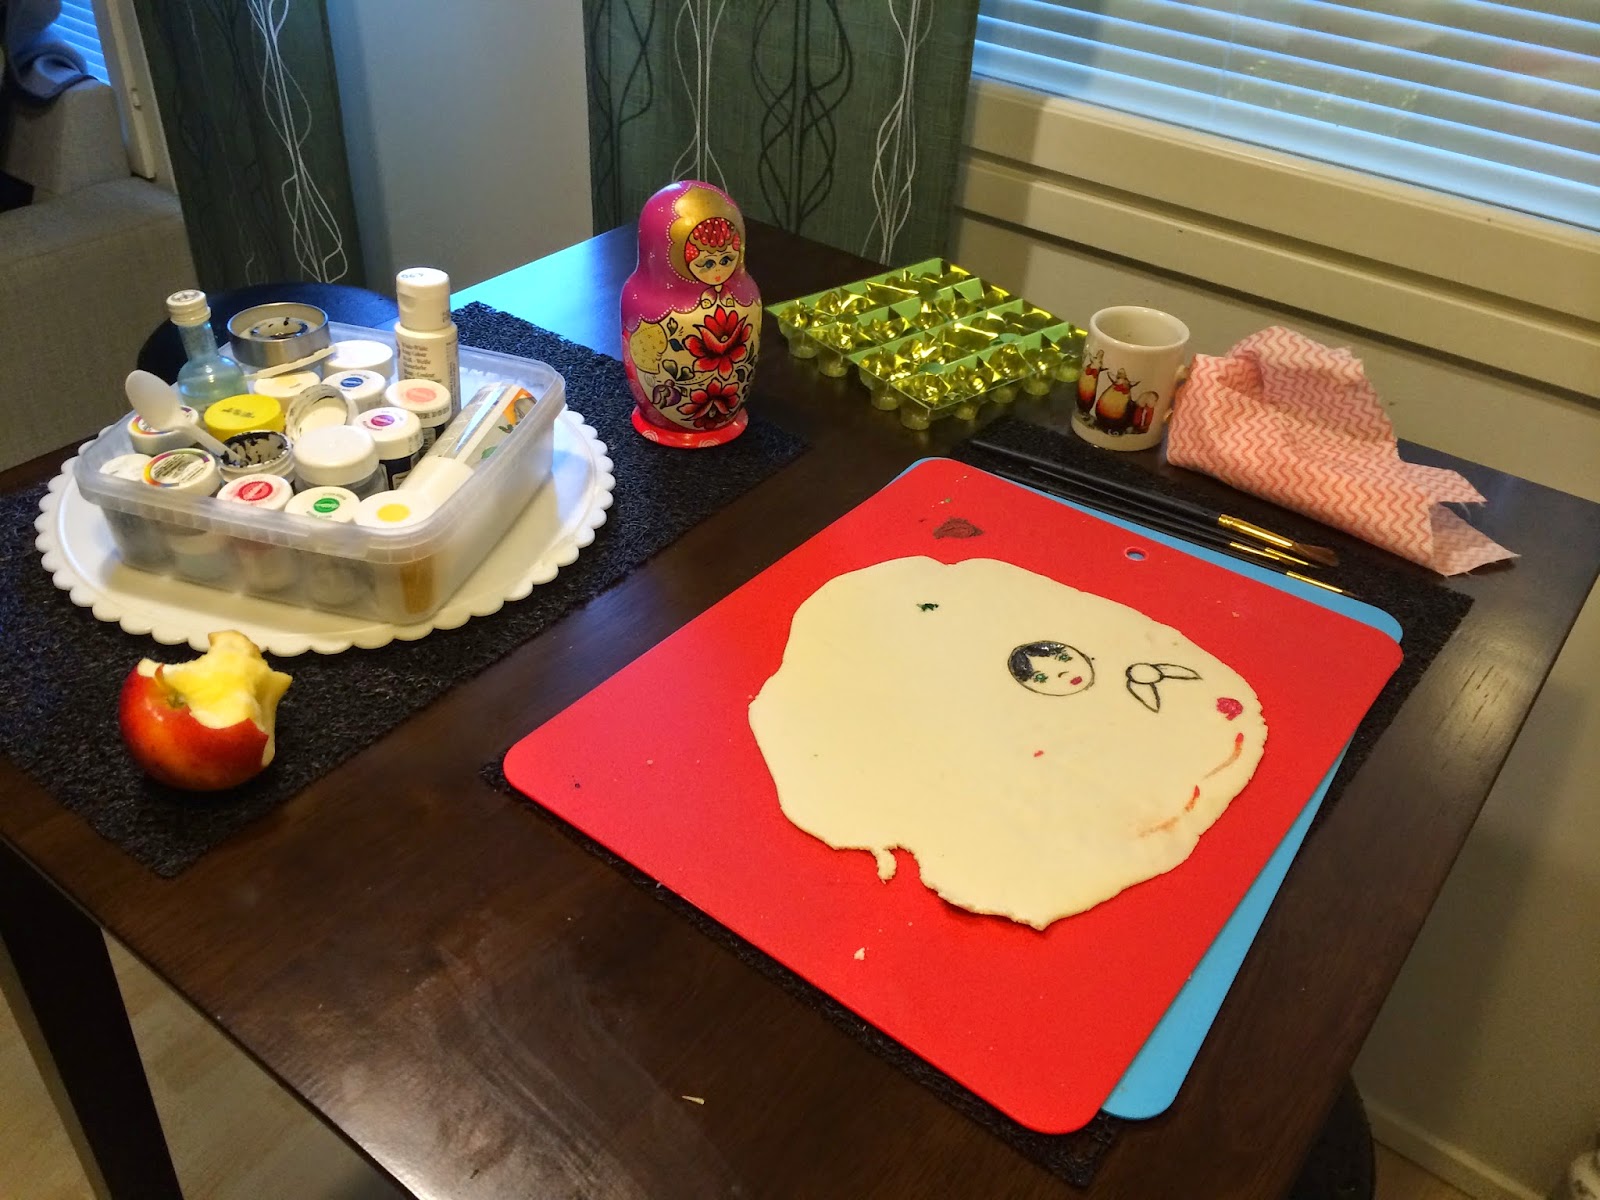
What deserves a special mention is the details of the face and the belly. That was scary!! I had to practice them an entire evening on a rolled piece of white fondant before trying my pulse on the real thing:

Rolled white fondant is an excellent practice board for cake painting. Make sure you
always practice a few times before starting on the real cake, and even more: be absolutely sure of the design you want. After starting it might be to late for second thoughts
Here is the finished doll. Many asked if it hurted to have the cake cut the next day. It doesn´t. It´s their mission. Every baker knows it and its proud of it.
No comments:
Post a Comment